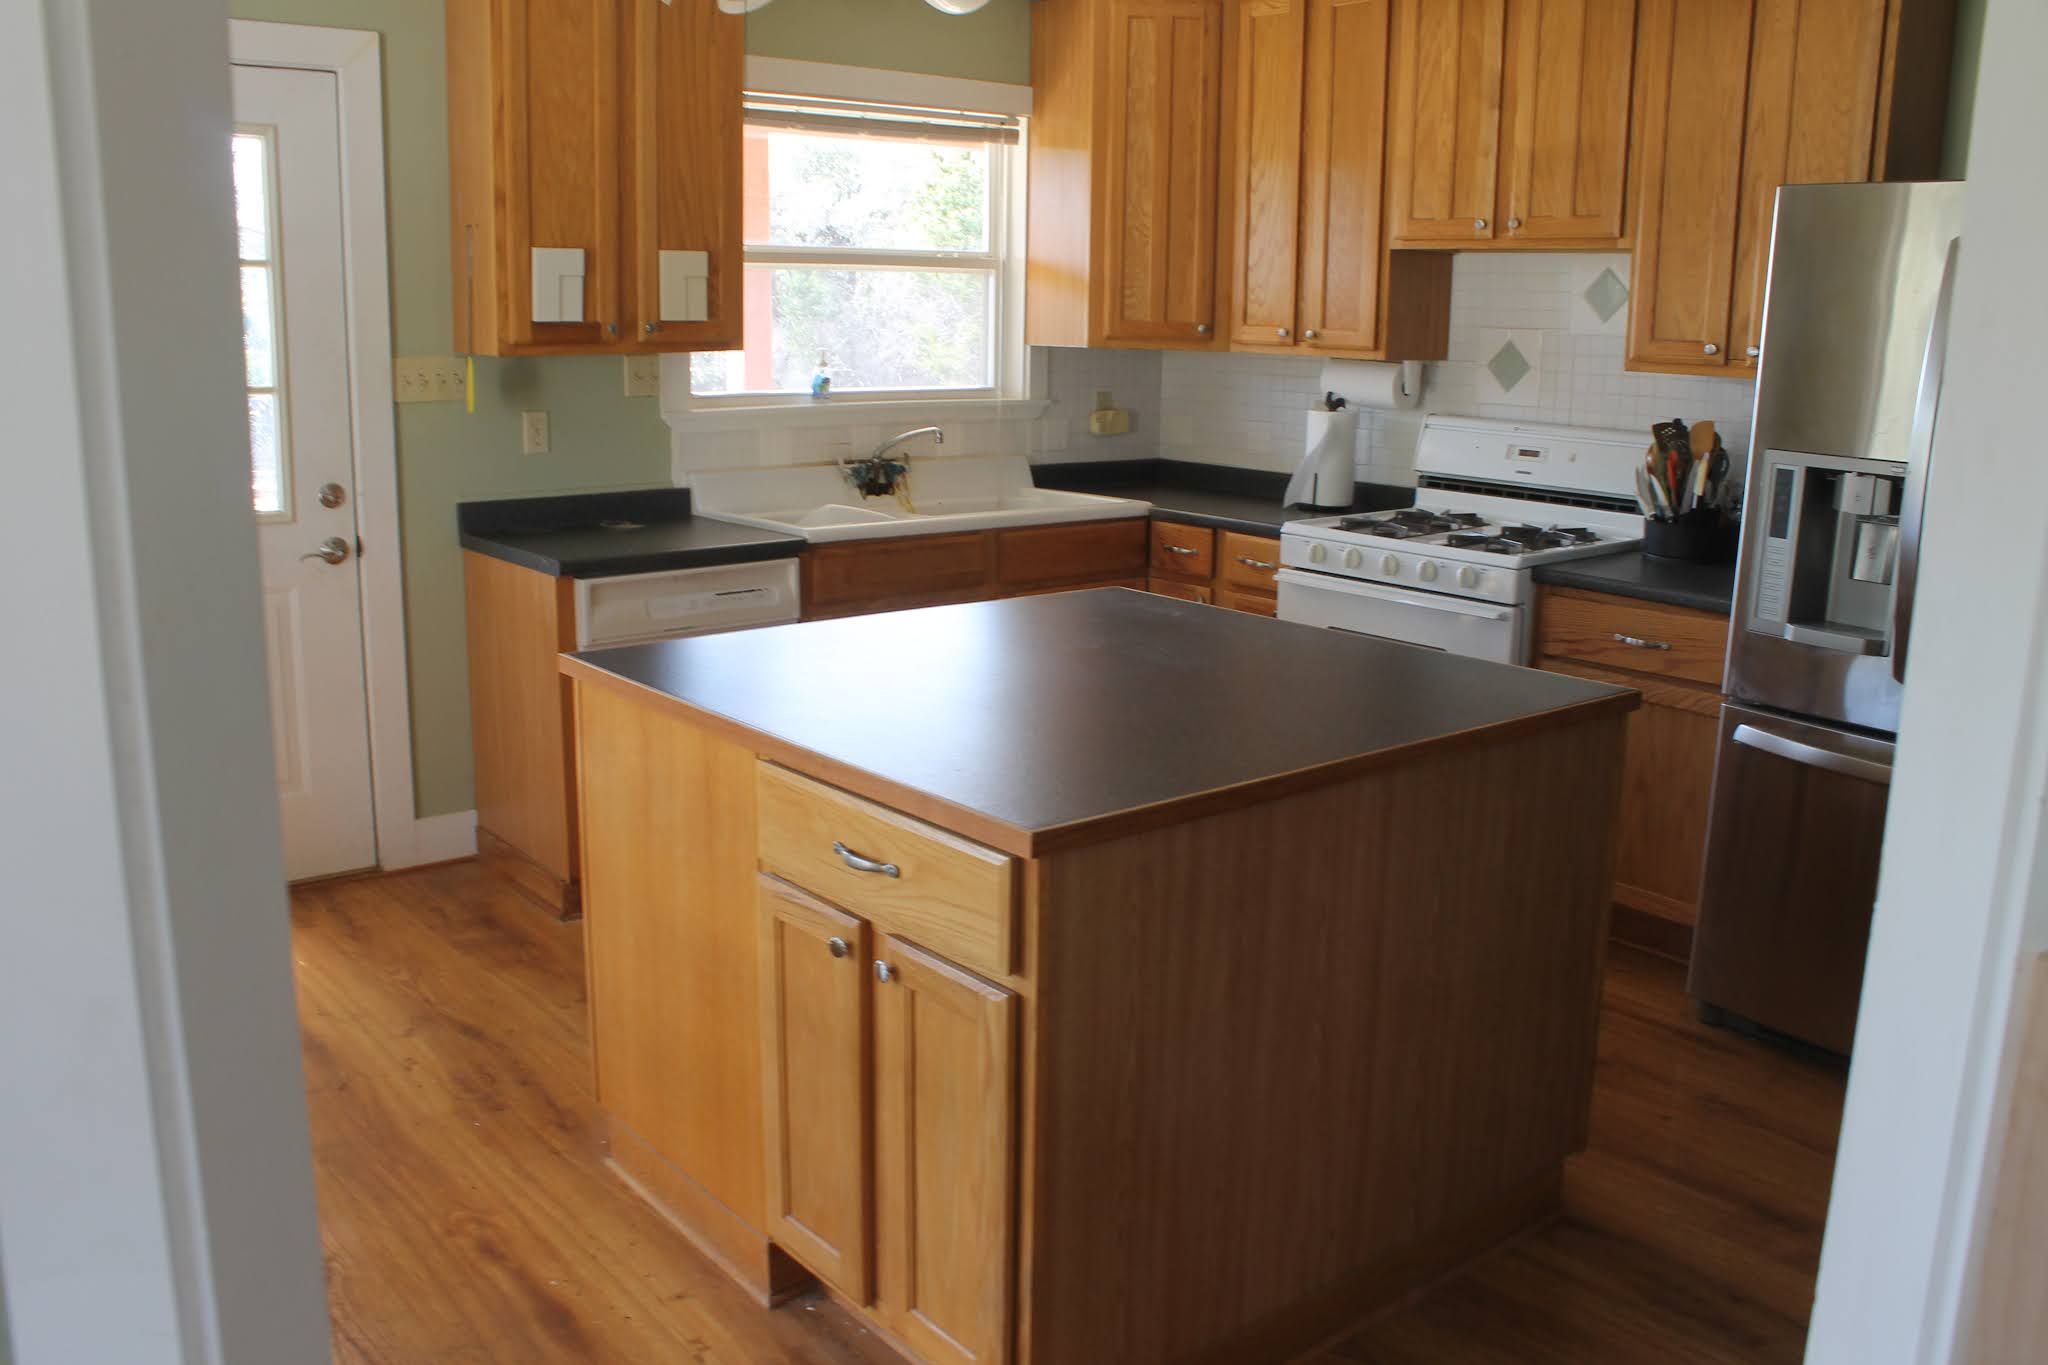
Before I delve into the kitchen saga that began in June 2018, let's back up to the spring of 2014. I'd been living in the house for almost 4 years, and really didn't like the kitchen, but hadn't seriously considered remodeling. The previous owners (who built the house) had 3 different kinds of unfinished cabinets installed, some with a clear coat and some left with raw wood. The counters were a pebbled gray laminate that I didn't particularly like. For a small kitchen, it had lots of cabinet space (going all the way to the ceiling), but when I stood at the stove or sink, I felt like they were looming over me. There was a blind corner cabinet between the sink and the stove that was very impractical, so I didn't really store anything back there.
The island had 4 usable cabinets, but one of them was turned towards the dishwasher making awkward (to me) jut outs on two sides.
The lights in the kitchen were not well spaced - there were two boob lights, a fluorescent fixture between the kitchen and living room, and a ceiling fan off center over the island. The backsplash was sort of ok - 2" white tiles, but with a few strangely spaced larger tiles.
The pantry cabinet (to the right of the refrigerator) was ok, but it was 24" deep with fixed shelves, so stuff got buried in the back all the time. The best thing about it was the chalkboard on the side - everyone loved that 😊


This corner set of cabinets consisted of 2 15" wide cabinets, and an 18" wide upper and lower. They were very awkward sizes to store things.
The sink was a huge (48" wide) vintage one, but came with its own issues that had gotten progressively worse in the 4 years I'd lived here. I hadn't paid any attention to underneath the sink (except to throw plastic bags into a crate living there). When a chunk of metal came off of the faucet, I started looking for replacement faucets. I pulled out the crate from below to unhook the faucet and discovered that it had been leaking and rotting out the cabinet. There was no way to save the sink cabinet, and the sink itself was very rusty.

I cried a little to my husband … he was (and still is) in Arizona for his job. I researched replacing the sink cabinet and watched lots of cabinet/sink installation videos, and figured I could do it myself. My husband cheered me on from afar, and suggested I look into replacing all the cabinets while I was at it. After many hours of searching, I decided on white shaker style (which I've loved for many, many years, even before they became the in thing, lol) and purchased them from Cliq Studios. I didn't replace the island cabinets, but I did modify them.
With the budget we decided on, and me doing the installation, I could splurge a little on the countertops. I chose walnut butcher block for the island (good old Lumber Liquidators!) and soapstone for the perimeter cabinets. But first, I had to do the demo …
I'll just share a few fun pictures ('fun' is supposed to be in the sarcasm font, lol) - the backsplash was a real pain to get off - it completely destroyed the drywall behind it, ugh. So I also got to practice putting up drywall. It didn't have to be perfect, just good enough to be behind cabinets and backsplash.
Unfortunately, I don't have good pictures of the finished kitchen, only some in process photos. But I *LOVED* how it turned out! The counter top guys were phenomenal - this corner is in 3 pieces, with the seams on either side of the skinny piece at the back of the sink. They cut it so it looked the veining matched, and the seam was almost invisible. I changed the corner configuration, as you can see. I picked the Kohler Whitehaven sink, at only 36" wide, so I could have a lazy susan corner cabinet instead of a blind corner. The sink isn't centered under the window anymore, but it hasn't bothered me a bit - and it's still a nice large sink.
I called this my 'Texas T' counter top 😁
These two 24" cabinets replaced the odd 15-18-15 configuration here previously. I did make an error by not using a small spacer on the left side wall. The left drawer front would hit the door trim when I opened it. In this picture, I'd removed it to cut 1/8" off - that fixed the problem, and no one ever noticed that the left drawer front was slightly smaller.
Since we were already spending so much money, we decided to replace the appliances too. I'm cooking something in this picture - probably a large batch of HEB chicken breast fajita meat. For those not from Texas, HEB is a regional grocery store chain - this Texas girl *loves* her HEB 😋
I follow a number of other bloggers, and got lots of ideas from them. One in particular (Kristi from Addicted2Decorating!!!) inspired me to create a window bench from stock cabinets: these are unfinished 36" wide, 15" high wall cabinets (like go over a refrigerator or stove), with a plank top I made. I color matched the paint to the new cabinets. I don't remember why I didn't have the last door on when I took this picture - it's sitting right there on the floor, lol. I also made 'feet' for the base of the cabinets so it looked like a free standing piece. The cabinets are resting on a 2x4 frame that I painted black. With the feet on the bottom, the black receded and you didn't really see the support.

I kept the old island cabinets but reconfigured them to face the same way (no more weird footprint). I also painted them a custom turquoise color - I bought a bunch of different brand sample paints and mixed them until I liked the color. I found a woodworker guy in Austin to put my butcher block together and cut it to shape for me. He also routed the edges so it had a nice finished look. I didn't want a super shiny finish, so I went with pure tung oil. It took about 4 coats to get a really good finish. I loved how satiny smooth it was! I did a light sanding and added another coat or two once a year, but otherwise didn't baby the surface. I had him make the overhang and ultimately had two stools here to eat at the island. The sides are angled because it's a small kitchen and that gave more room to walk around.

A couple of the island cabinets had double doors, but they always seemed awkward to me. I bought standard width doors from the Habitat Restore and replaced the double doors. I should have changed the hinge side on the left one, but just never got around to it.
Another blogger I follow and love is Anita at Whispering Pines Homestead. She had a board on the end of her island to hang pots from, and I stole that idea 😀 I had an old oak board in my stash, so I stained it dark and attached it. Since I have heavy cookware, I put 1x4's on the inside of the cabinets to give the board something substantial to screw into.
I also made the little 'feet' for the island. I really like the look it gives to the cabinets.
This brings us to the end of the prequel to the house saga - I loved my remodeled kitchen and was so proud that I successfully hung drywall and replaced cabinets. I'm sorry I don't have better (and complete) pictures of the 'after'. When I get to the current 'after', I *will* have a complete set of photos, and I will try to stage them to look pretty, lol.
Another sneak peek of the coming saga …


No comments:
Post a Comment